Skip to content
Facebook
Youtube
Instagram
Linkedin
Pinterest
Contact Us
Inspiration Gallery
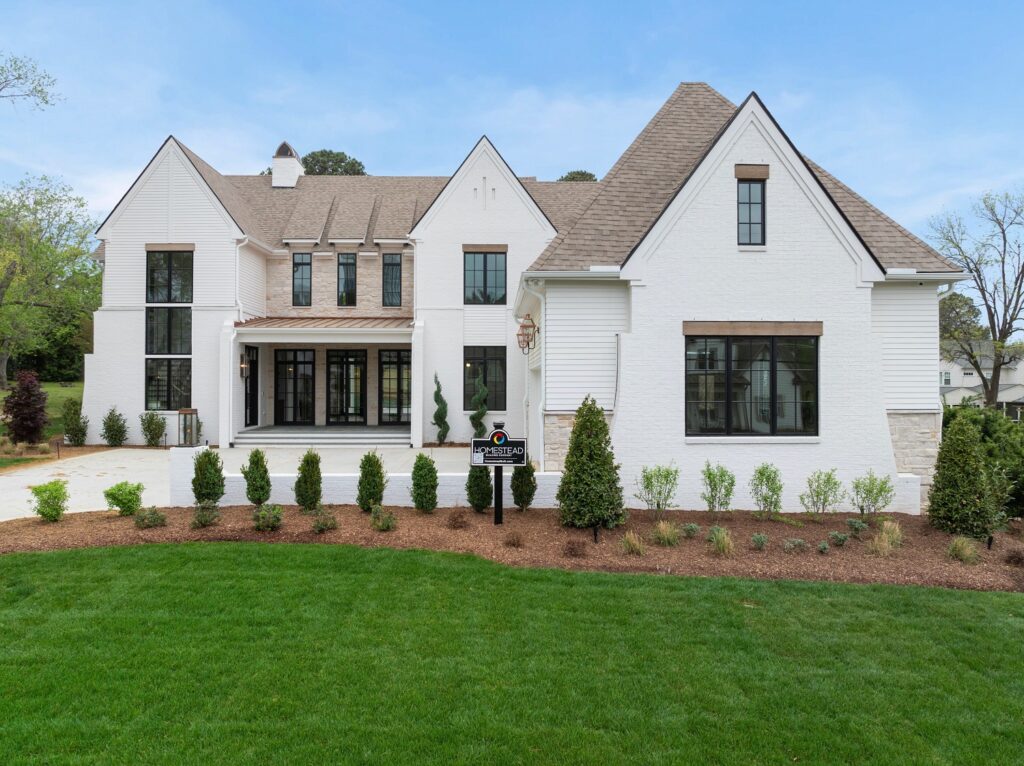
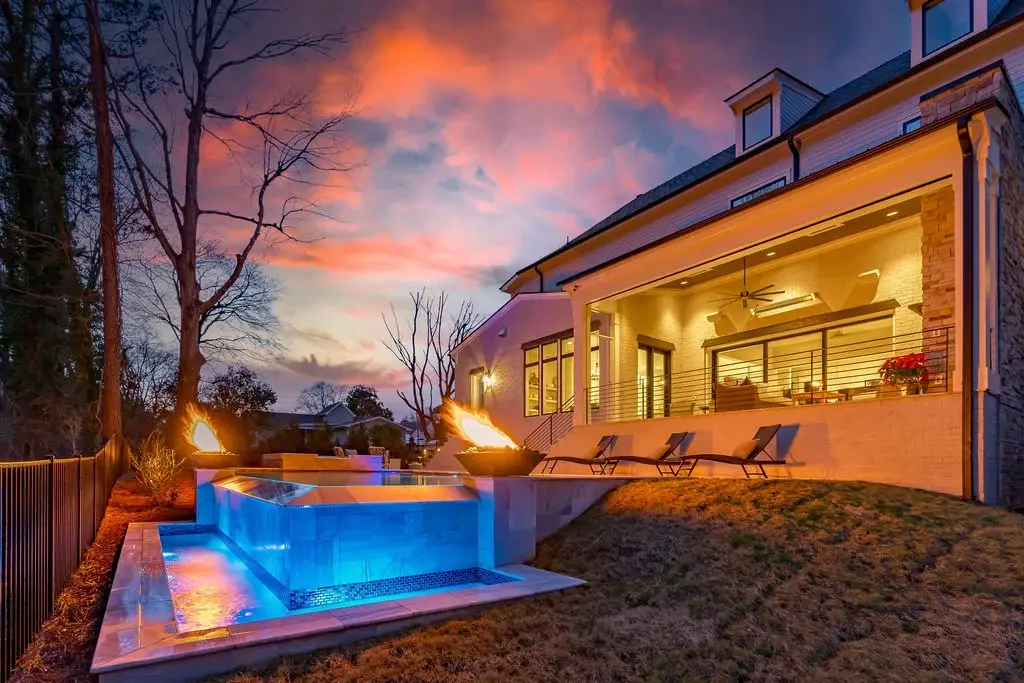
Exterior
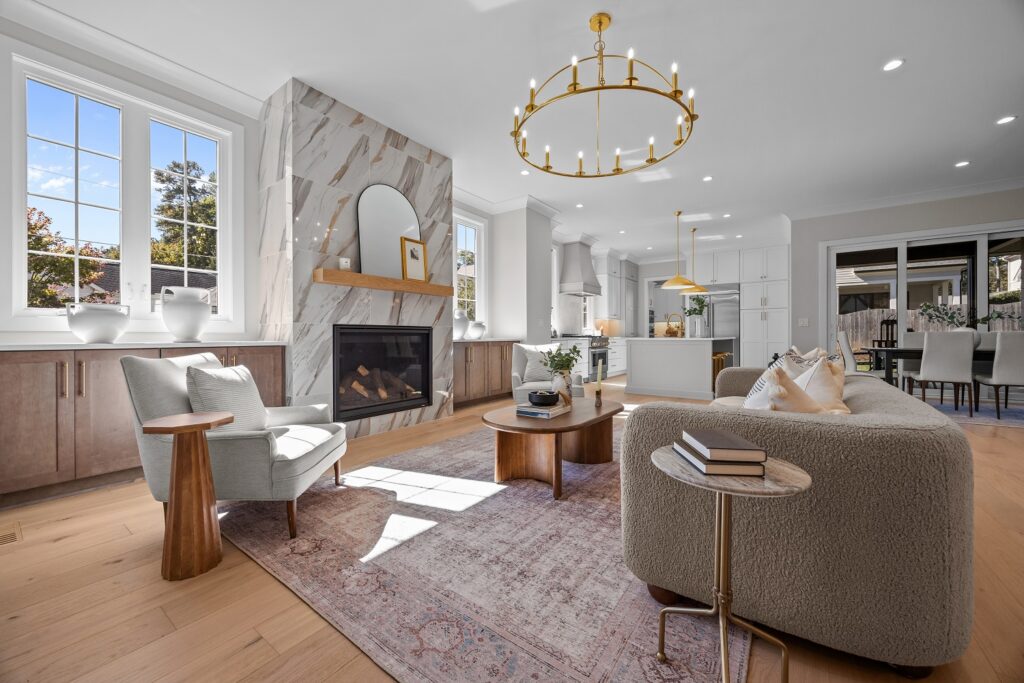
Family Rooms
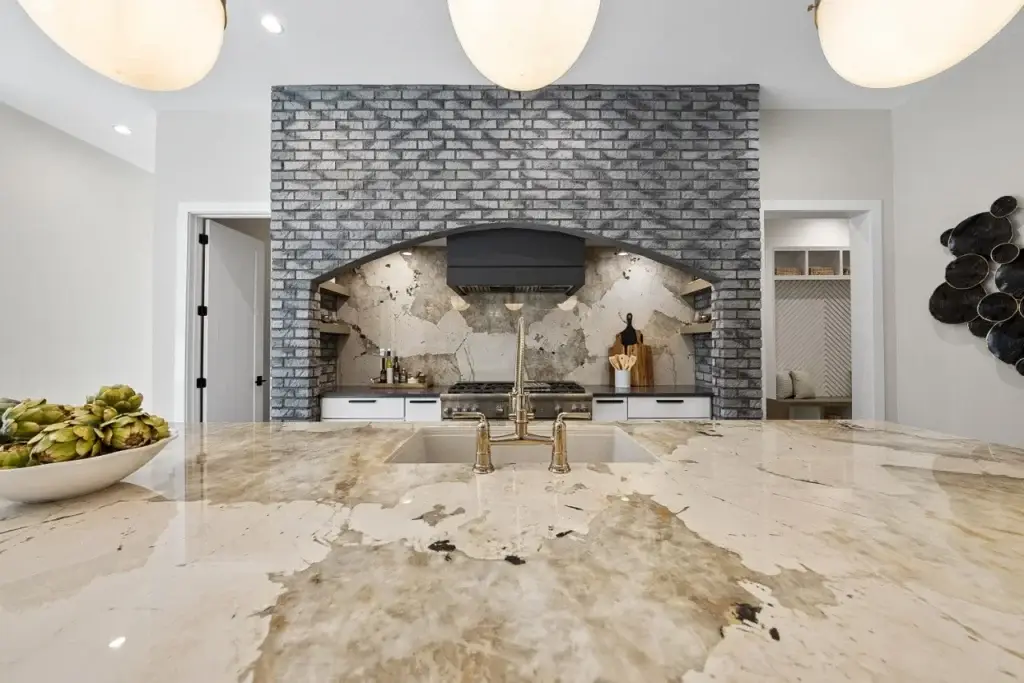
Kitchens
Bedrooms
Outdoor Living
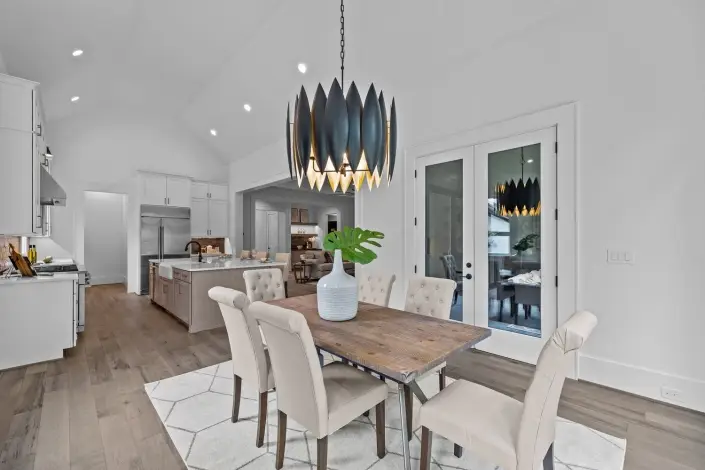
Dining Rooms
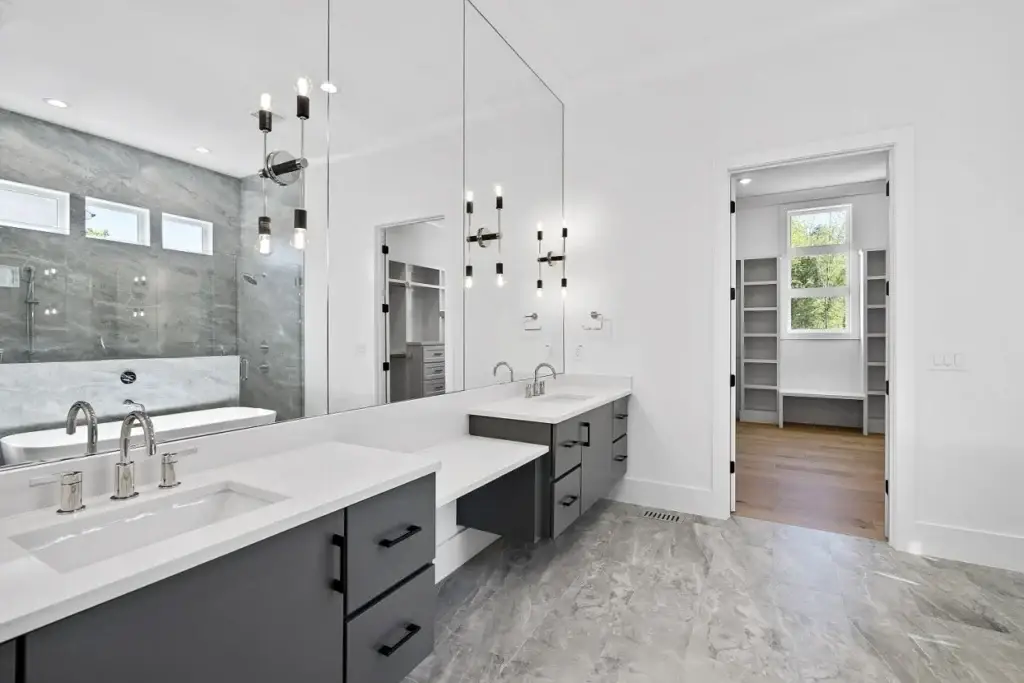
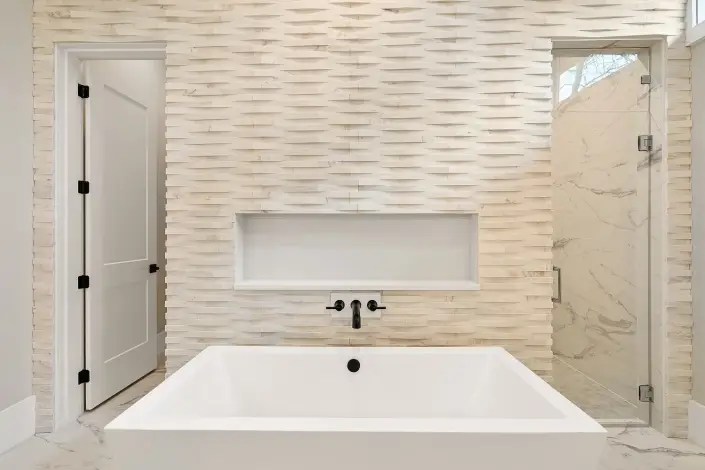
Bathrooms
Recreation Rooms
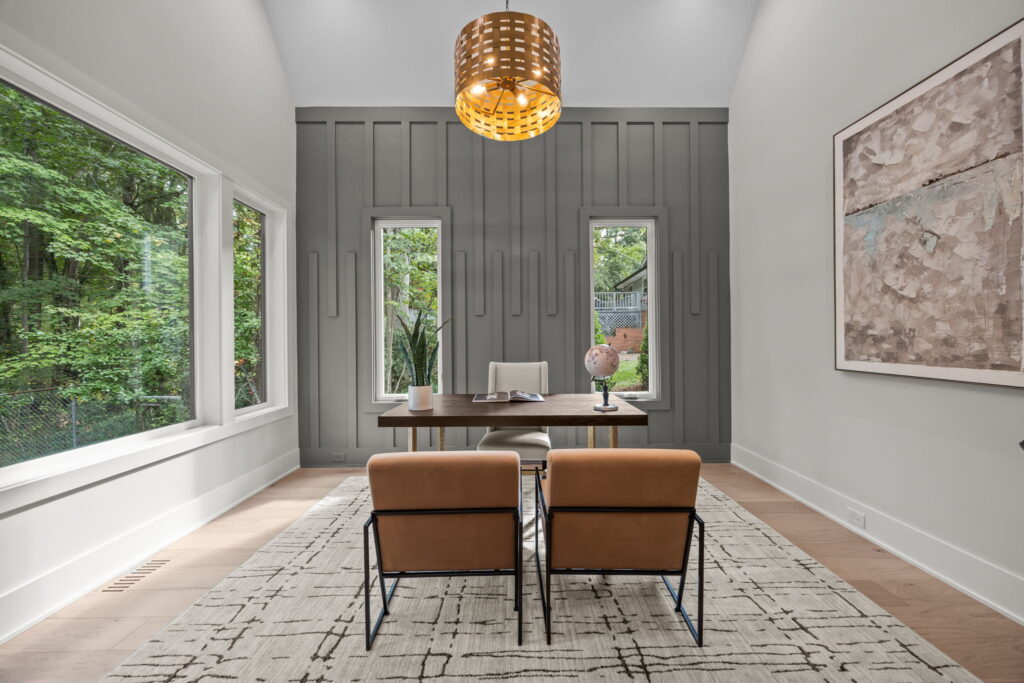
Study
Home
Available Custom Homes
Communities
Brixley
Greenbrook
Laurel Hills
North Hills
North Ridge Country Club
Shinleaf Estates
Stratford
Inspirational Plans
Inspiration Gallery
Who We Are
Contact Us
Phone
Instagram
Youtube